Layers are used to overlay both environmental and contextual layers on the map.
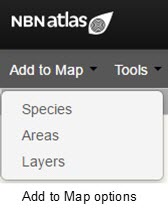
To add a new layer, select from the Menu Option, “Add To Map”, then “Layers”.
The Layers option maps any of the layers which are included on the NBN Atlas. On this page, there are a few links to view/download information in the form of a table about each of the layers in the Atlas. These layers can be viewed, sampled and generally used in analysis but cannot currently be downloaded in raw data form due to licensing constraints. The Atlas has been given most of these layers with an agreement not to pass them on to a third party. The agencies responsible for each layer are listed in the CSV download file along with the licence type. When agencies move to Creative Commons licences, we will provide various options to download the layers.
Currently there is only one type of layer available on the spatial portal (and NBN Atlas in general):
- Contextual: These layers are essentially polygonal even though some are generated on a grid basis. The values within each of the polygons is a class such as “forestry” as a land-use class. Generally, contextual layers are used to interpret the distribution of organisms rather than controlling them in some way, hence the name. Contextual data may also be helpful in interpreting the output of an analysis. For example, what is the distribution of land-use classes where this species is found or could be predicted to be found.
There are three distinct ways to map layers:
- If you know the name of the layer you want, you can start typing the name into the Layer text box. As with species names, the system will know some synonyms. Typing the first three letters will start to bring up a list of matching names. Once a layer name has been clicked, it will be mapped.
- If you do not know the name of the layer you want, you can type in a keyword and the auto-complete feature will suggest possible matches.
Layer selection box
The box for selecting layers to map or to use in analysis contains a range of functions. The list and selection box enables you to:
- Select one or multiple layers individually from the table using the check boxes. You can map one or any number of available layers at one time. NOTE: Use the Map option box to select or deselect all mapped layers.
- Add set of layers entry box
- Select previously used layers (a list of your most recent layers is kept)
- Select a predefined suite of layers, for example the ‘Best 5’ (see below for details on how these suites are generated).
- Import a list of layer names saved or generated previously. The format uses short-names separated by commas (CSV-format). To see an example of the format, use the fexport option once layers have been selected.
- Add from Search entry box
- Search for a layer using auto-complete (the same type of function as used for species selection, but in the case of layers, the search covers any words in the long name, short name, classification and keywords). Just start typing and the auto-complete will start displaying layers that match what you have typed.
- Clear selection deselects any selected layers
- Export layer set creates a text file containing the (short-name) list of selected layers. This can be used for subsequent import.
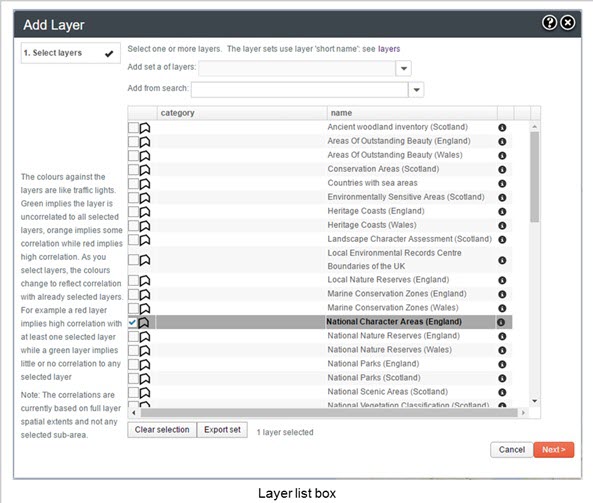
When you first see the layers selection table, you will see:
- A link to the list of all available layers.
- The checkboxes for the selection of layers
- The long name of the layer
Note: Even though there may be some spatial overlap between terrestrial and marine layers, they are designated as mutually independent suites.
- A clear selection button. This resets any selected layers
- An Export set button that will save the list of selected layers to a CSV file.
The “Next” button will be enabled when at least one layer has been selected.
If you feel a useful layer is missing from the Spatial portal’s layer list, we can look to include this layer. Please see our Supply spatial data such as site and habitat boundaries for further guidance.